Setting up your Affinity project to start building your children’s picture book.
Set up
In this blog, we will go through Affinity Publisher’s picture book template creation. I will be showing you how I set up When Fitch Lost Summer and I’ll explain how the choices might affect your project, assuming you are using a different trim size.
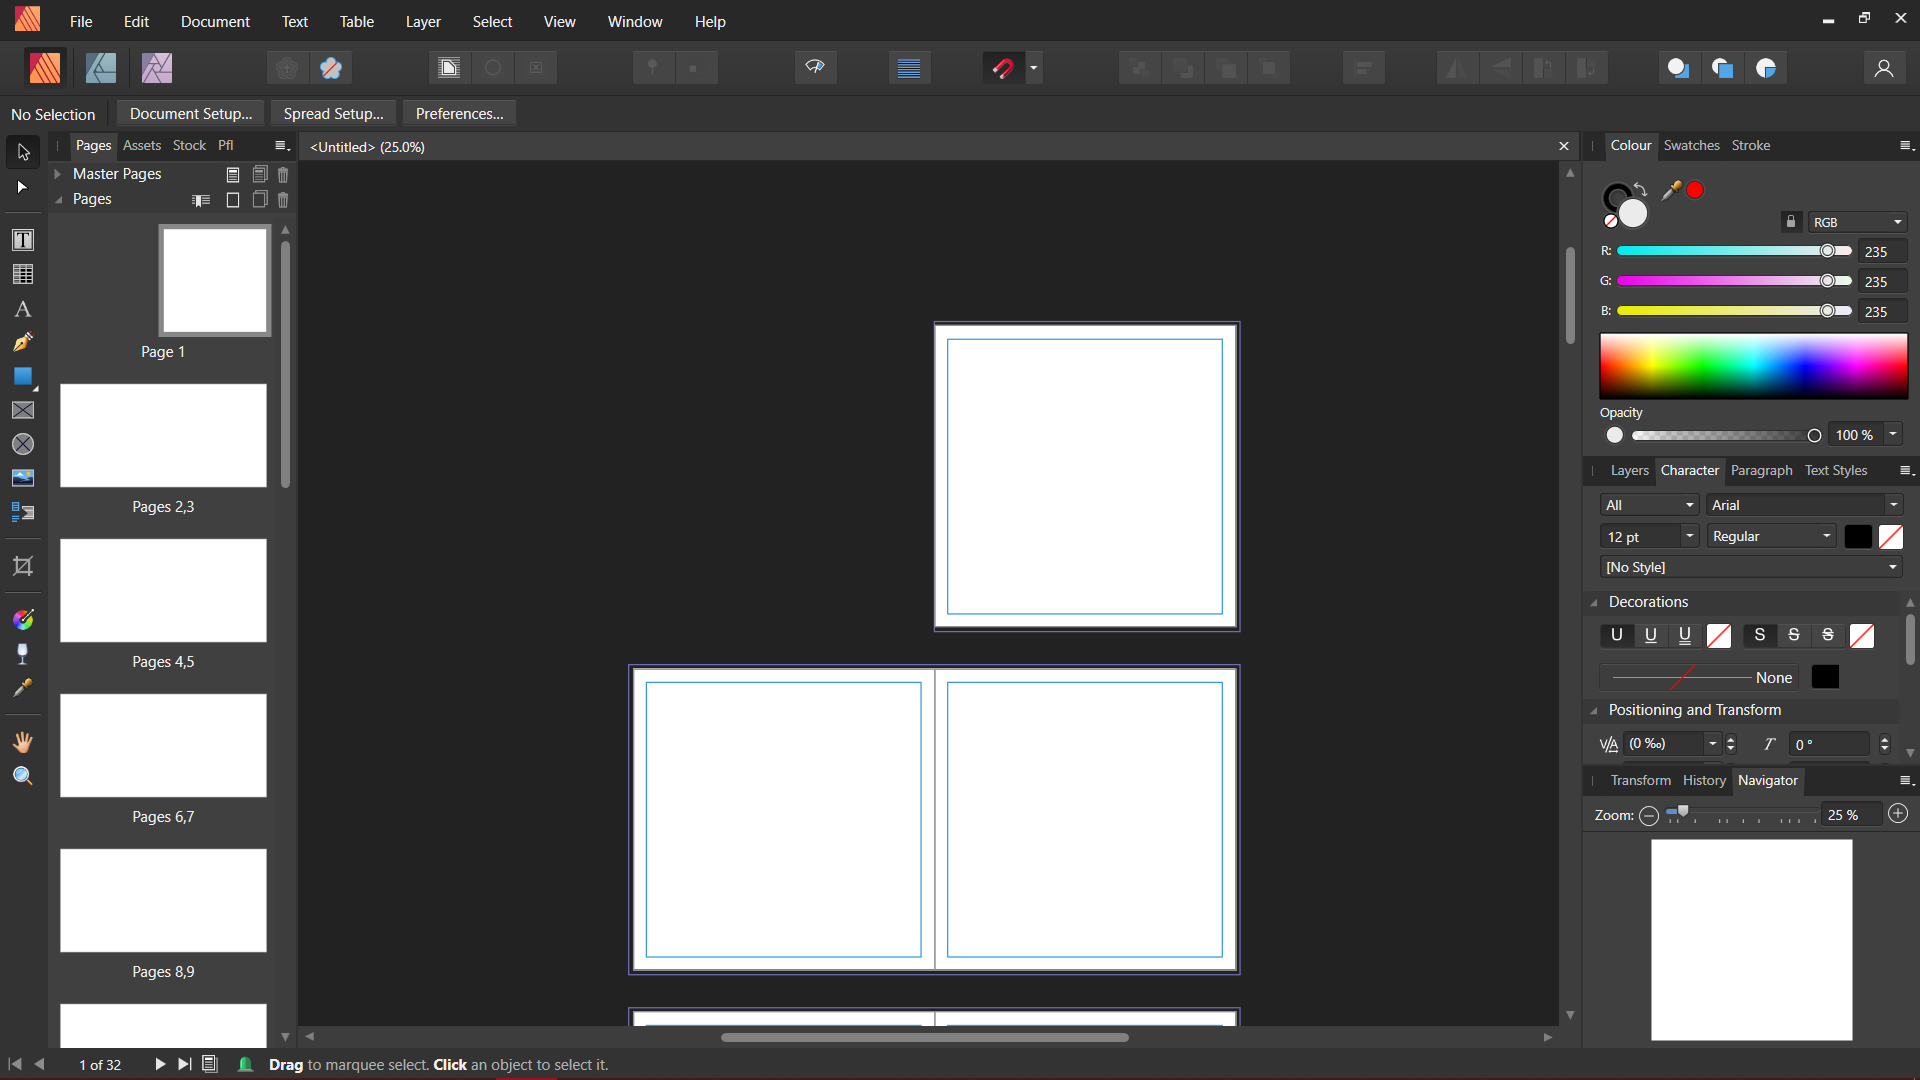
The image below may seem overwhelming at first, but we only need to focus on the right-hand side of the screen.
Layout and Pages
The page width and height refer to the dimensions of the trim size you choose. This does not include the bleed.
The orientation is something you should consider if you have a trim size that is not a square. For a non-square page size, you should choose portrait as your orientation (unless you prefer a calendar stylebook).
By ticking “Facing pages” and selecting a horizontal arrangement, the books pages will be placed side by side, allowing you to get a good idea of what the book will look like.
Setting the start position to right will set up the project in a way that will set up the pages as if it were the manuscript without cover.
Margins and Bleed
Selecting “Include margins” is very important. All text found within your book needs to be inside of the margins, for printing purposes. The book I wrote, contains 40 pages and KDP Amazon, for example, requires a margin of 0.375 inches, this is due to how the book is bound. You should check the different requirements for different trim sizes and page quantity on each self-publishing platform.
When it comes to the bleed, it is not necessary to insert a value for the left side of the page. The left side is the gutter of the book.
Final Results
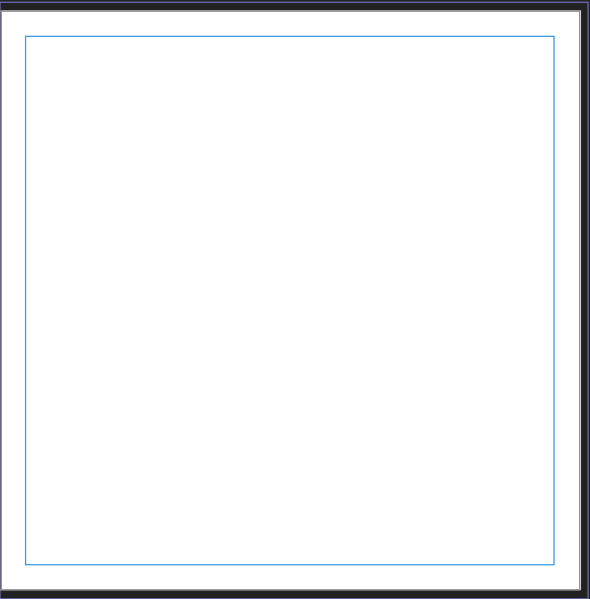
Once the set up is complete your project should look something like the one below.
This is your page including bleed
The white area is the pages safe space and the dark area surrounding it is the bleed (notice how there is no extra space on the left). Anything found within that area will be cut; Affinity does have a preview mode that will show you exactly what will be removed once printed.
The blue square is your margin.
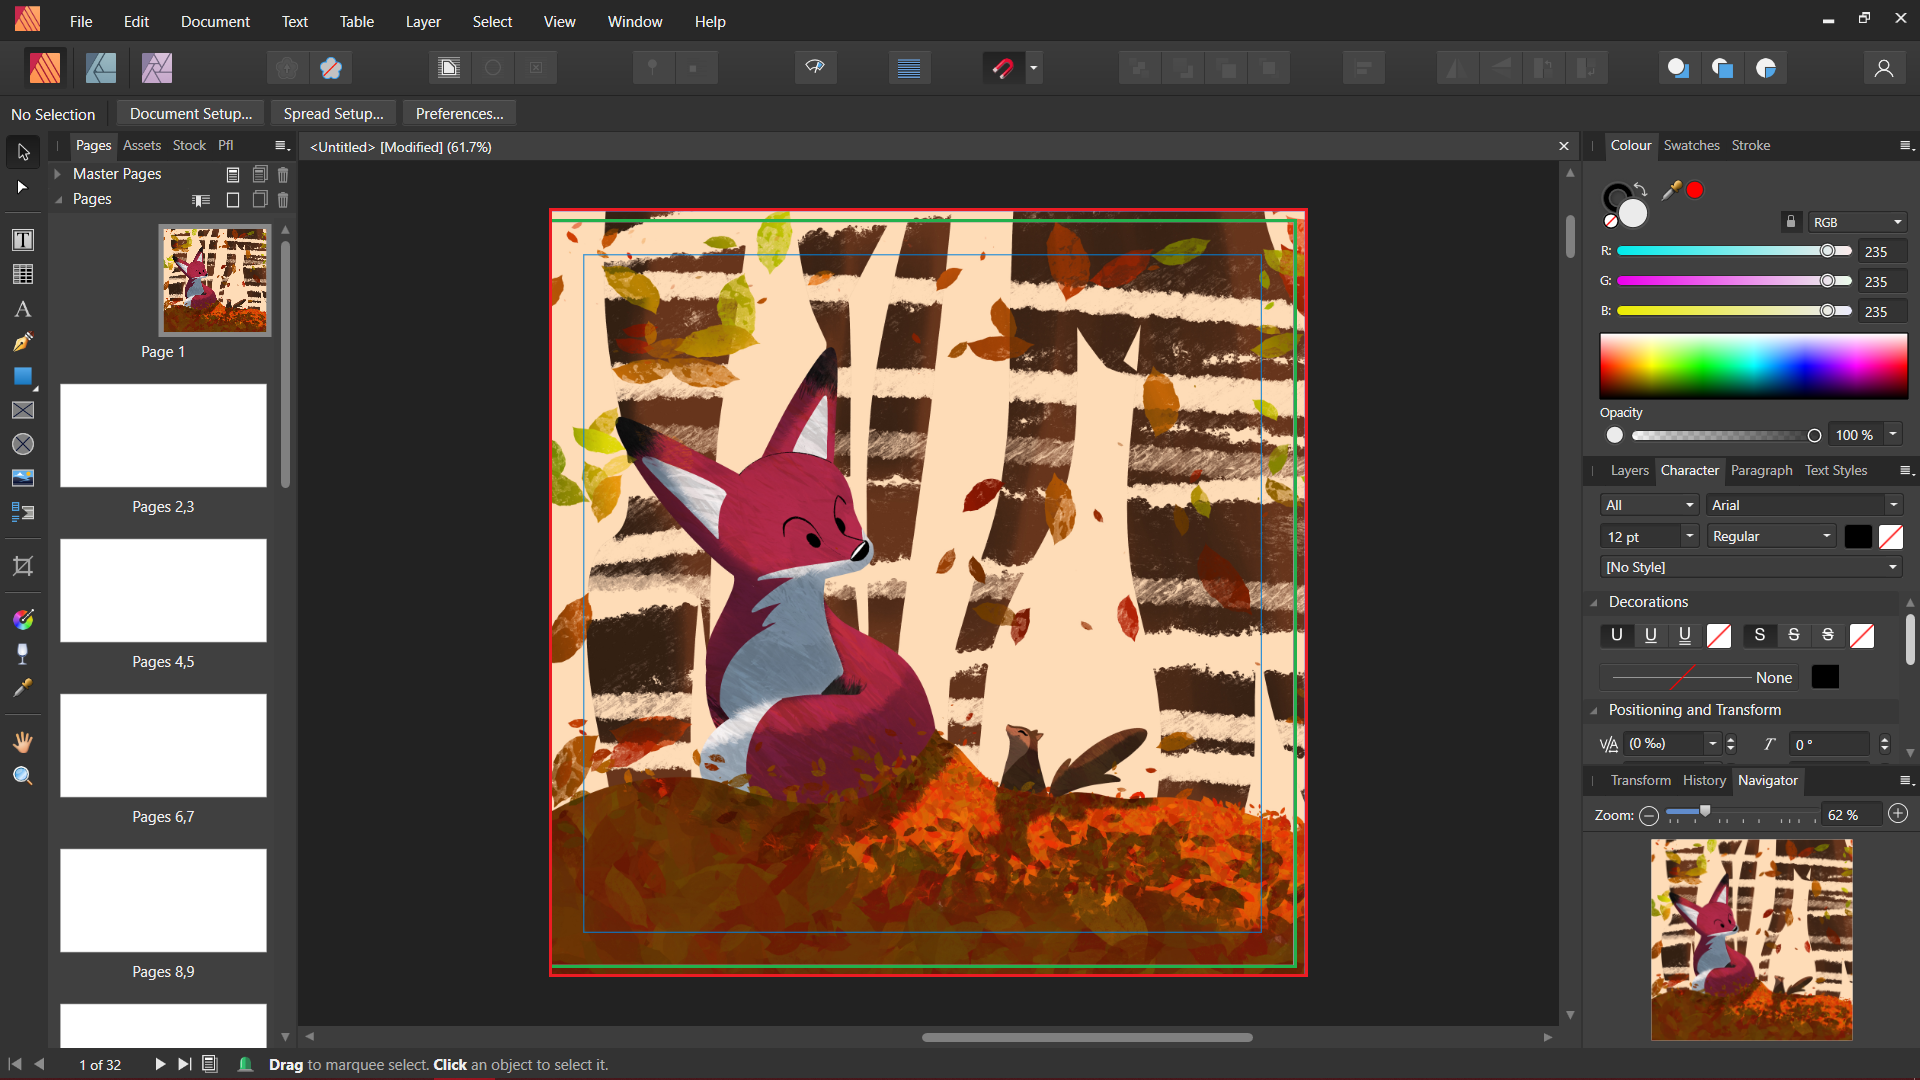
Practical Example
In this example, I have placed an image from my picture book. You will see a green square and a red one, the space between these two is what will be removed once the book has been printed and cut. So, it is important to make sure that the edges of your image not only extend all the way to the edge but also does not contain any fundamental details of your design.
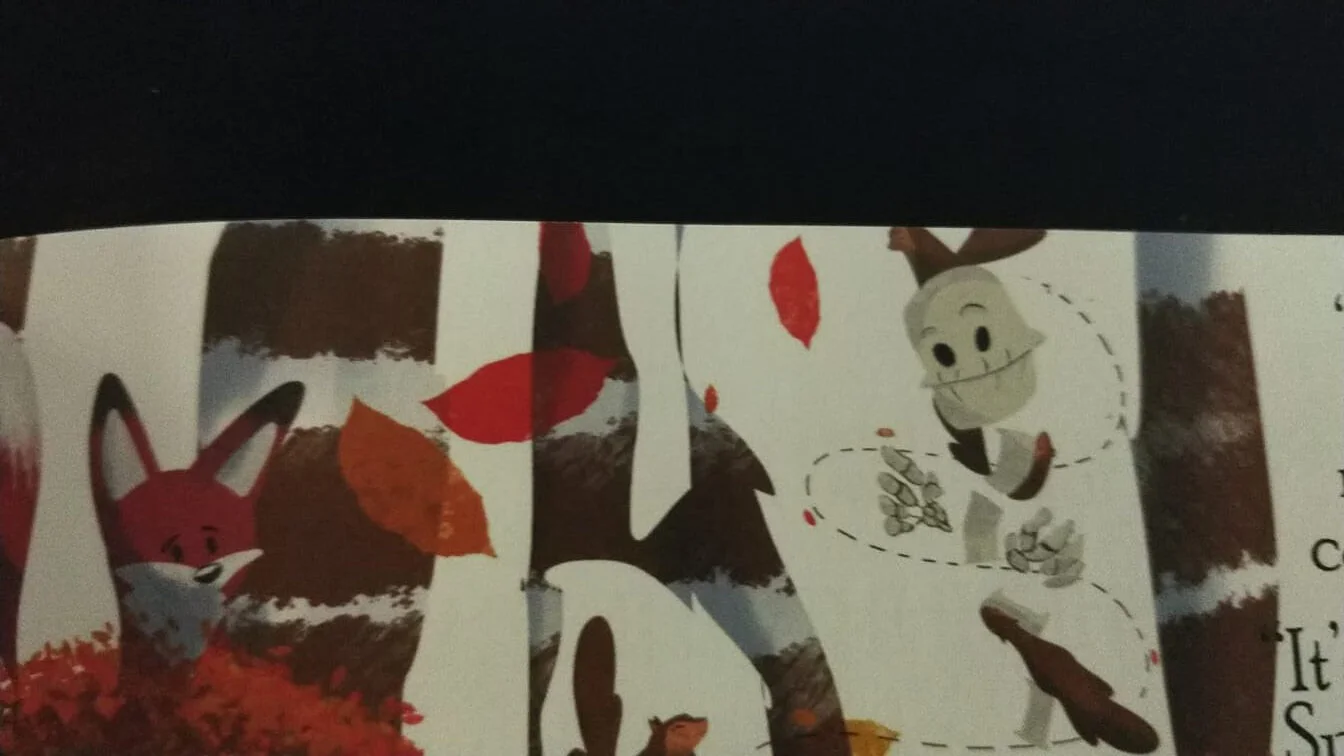
Mistakes were made
This is an image of a proof copy I requested from Amazon KDP. I didn’t pay attention to the bleed and Speedy almost got decapitated.